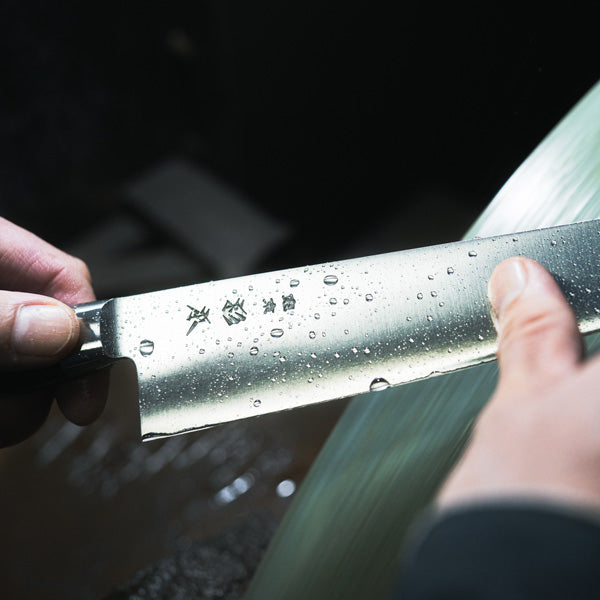
Every knife needs a little TLC once in a while. In this case, I mean some sharpening.
That's right; despite their incredible edge retention, even Japanese knives require some maintenance from time to time. Your knife might maintain its sharpness for weeks or even months with regular use, but eventually, no matter how good it is, it will need a visit with 'Dr.Whetstone.'
Save Money, Stay Sharp
With a bit of patience, you can learn to sharpen your knives yourself. Using a whetstone (also known as a Japanese Waterstone) retaining a super-fine edge on your knife is simple. In this article, I'll teach you about whetstones and how to use them. Soon you'll be able to keep your knives in tip-top shape, save money, and all without having to leave your house! Rather than getting an expensive professional to sharpen your knives, you can save money for what you really want: more knives!

Whetstones
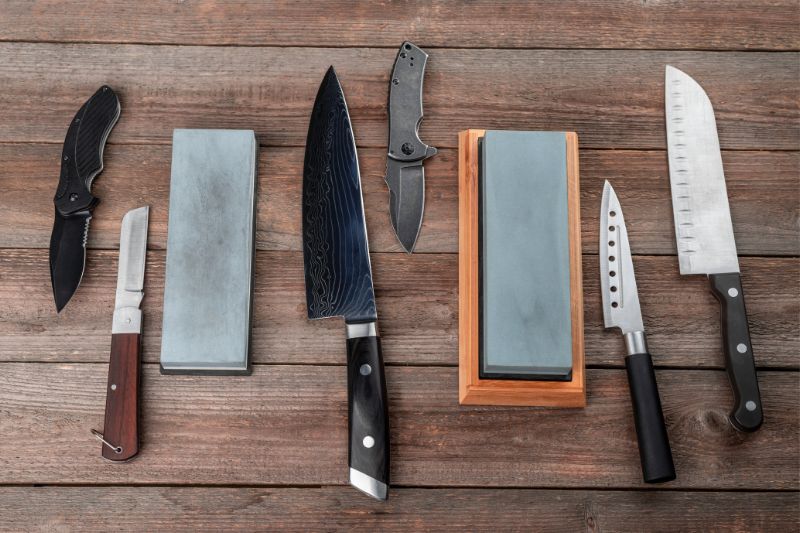
A whetstone is a rectangularly shaped porous natural stone, or synthetic stone-like material, used for sharpening knives. Cultures worldwide have had varying forms of whetstones for hundreds, if not thousands, of years. They were used to maintain farming tools, weapons, and knives. Many people have never encountered a whetstone in today's world, where tools are often discarded and replaced rather than maintained. But, not so long ago, they were commonplace, and in many industries, they still are.
Natural Whetstones
As natural stones have become rarer with time, most whetstones you will encounter today are synthetic. However, there are still quarries that produce natural whetstones. They are generally considered good quality and revered for their beauty. As a result, natural stones are highly valued and highly priced. However, as they are naturally formed, they can't be graded with a grit number and therefore are less consistent in sharpening. We'll get more into grit numbers later.
Synthetic Whetstones
Then, there are synthetic whetstones, the most common kind. They're made from various materials, such as ceramics and silicon carbide. But, where they might not be as beautiful as natural whetstones, they more than make up for it in consistency. They have a uniform distribution of particles and therefore sharpen knives more evenly. Because of this, they can be given a grit number.
How Do Whetstones Work?
Simply put, whetstones are abrasive, and when a blade's edge is rubbed against the surface of a whetstone, tiny particles of metal are removed. When done correctly, this reshapes the knife's bevel and shaves it to a fine point. So that's how a knife is sharpened, by removing small amounts of blade material
Grit Numbers
You've probably seen numbers next to the names of whetstones, for example, #4000 grit.
This number indicates how coarse or fine the particles of the whetstone are and, therefore, how fine of a polish they can give to a knife's edge. The lower the number, the coarser the stone, and the more metal it will shave off the blade when used. Generally, you will want to begin with a coarse stone (such as #200 or 1000 grit) and then do a final polish with a finer whetstone (#4000+ grit).
Sharpening Your Knife
Using a whetstone to sharpen a knife is simple to understand yet challenging to master. Below we'll go through the steps to sharpen both a double-bevel and single-bevel knife.
You will need the following:
- At least one coarse whetstone of #200 grit (although two stones, one coarse and one fine, are recommended. Course is usually around #200, and Middle-course is #1000).
- A sink or container of cold water large enough to completely submerge your whetstone(s).
- A damp tea towel.
- A knife to sharpen.
Prepare Your Whetstones
Japanese whetstones are soaked in water before use (and hence are sometimes called Japanese Waterstones). The water protects both the stone and the knife's blade while making the sharpening even. In addition, it aids in creating a slurry of particles that help to sharpen the blade's edge and prevents the detaching knife particles, called swarf, from becoming embedded into the whetstone and clogging it over time.
Step 1: Completely submerge your whetstone(s) into your sink or container full of cold water. The whetstone(s) should be covered entirely with water.
Step 2: Let them soak up water for about 10 minutes or until they stop producing bubbles.
Step 3: Remove the whetstone from the water and place it on a stable surface, such as a damp tea towel or whetstone holder. If you're using more than one whetstone, you can leave the one that you aren't using in the water until needed. In either case, reserve the water, as you will need it to keep the surface of the whetstone damp.
Double-Bevel Sharpening
Sharpening a double-bevel is relatively easy. With some practice, you can get an edge back into perfect shape in five to ten minutes, depending on how blunt it is. The main difficulties are ensuring you achieve the correct angle and making each side of the bevel even, but getting these things right becomes second nature over time.

Step 1: Beginning with a coarse #200 or 1000 grit stone, find the correct angle.
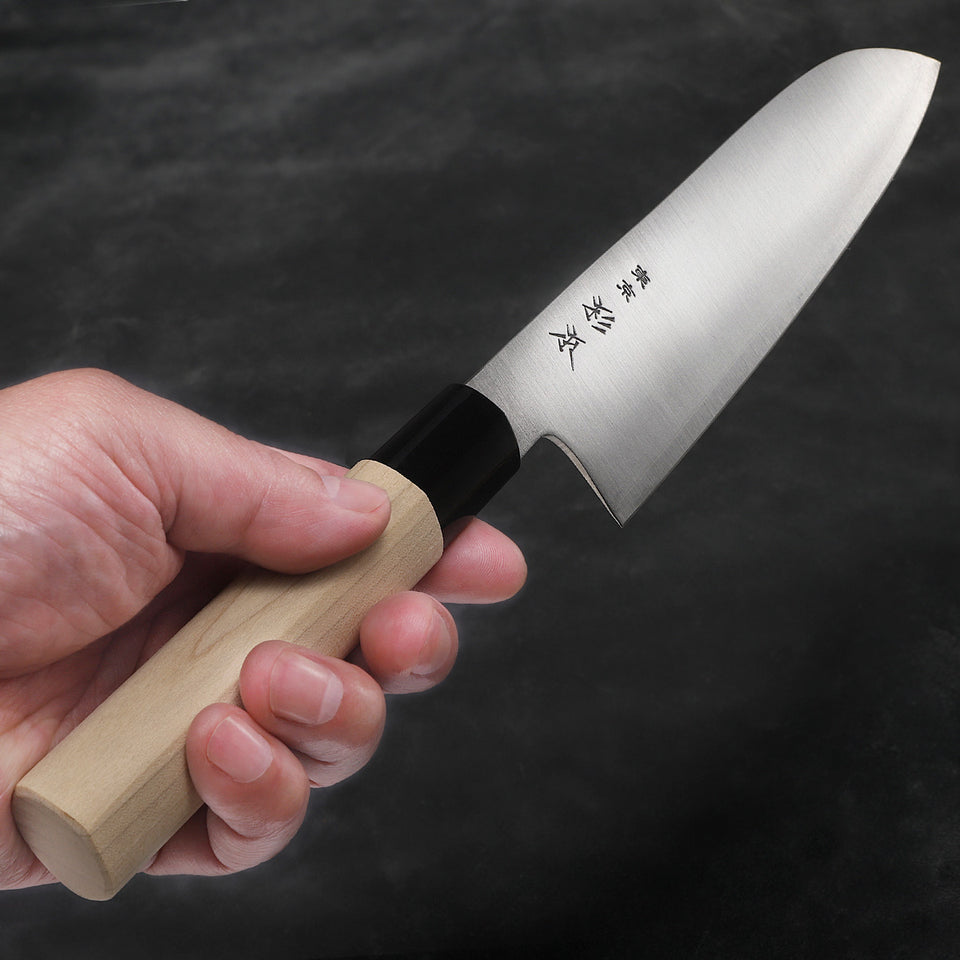
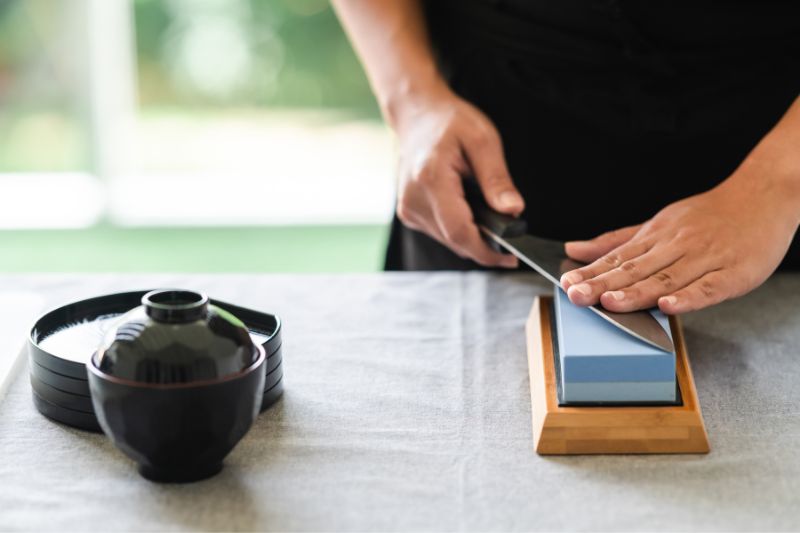
One way to do this is by placing your knife at a 90-degree angle with the blade's cutting edge touching the whetstone. Then, with the blade still touching the whetstone, half this angle by tilting the blade's spine to the side until you have a 45-degree angle. Half this again, and you have a 22.5-degree angle. Make the angle slightly smaller than this, and you should be within 15 - 20 degrees. With time you will learn to feel the bevel against the whetstone. Finally, you should end up roughly with your knife in the position shown in the picture above.
Step 2: Glide the knife back and forth over the surface of the whetstone without applying pressure. Only exert enough force to keep the blade's edge stable against the whetstone as you move without pushing the blade into it. Occasionally, sprinkle water onto the whetstone's surface, so there's always a layer of water on top.
Step 3: After about 2 - 5 minutes, flip the blade and repeat step 2. The blade's edge will now either be facing toward you or away from you. You may find doing one side over the other a little more challenging, but don't worry, as this is normal and something you will get used to.
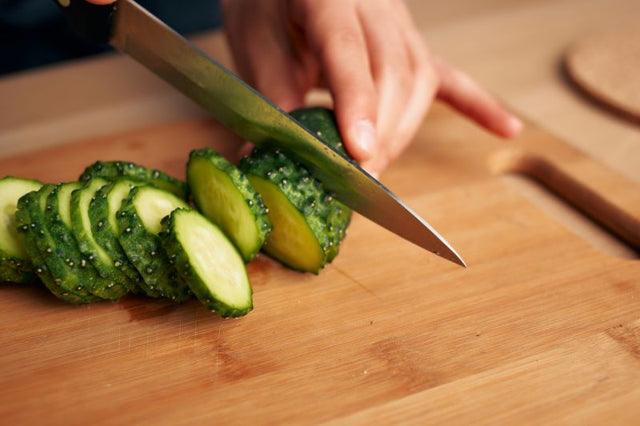
Step 4: Once you are satisfied that both sides of the bevel have been sharpened evenly, repeat the process on a fine-grit stone if you have one. Doing this will add a final polish to the bevel to make it extra sharp. That's it; you're done! It's a good idea to test your knife on some paper or a vegetable to ensure it has been fully sharpened before you put away your stones. See the illustration below for a representation of the whole sharpening process.

Single-Bevel Sharpening
For many people, a single-bevel knife appears more intimidating to sharpen than a double-bevel knife. The process is similar, and it isn't actually any more difficult. However, in this case, you will need two whetstones.

Step 1: Beginning with a coarse stone (#200 - #1000), place the slanted side of the blade onto the whetstone at an angle of 10 - 15 degrees. The smaller the angle, the better.
Step 2: Following the same method as with a double-bevel, glide the blade back and forth across the surface of the whetstone for a few minutes, ensuring equal amounts of time from the heel of the blade to the tip.
Step 3: This is where the method for sharpening a single-bevel diverges. Lay the 'flat' side of the blade fully against a fine-grit stone of at least #4000 grit. Move it back and forth against the whetstone but only for one minute. This process will keep the bevel straight on the flat side.
Step 4: You can now sharpen the angled side again but with the fine-grit whetstone, repeating step 2.
Step 5: Repeat step 3 to keep the knife's single-bevel shape. Voila! You're finished.
Pro-Tips:
- If you're worried about damaging your new Japanese knife, practice on a cheap or old knife you already own first.
- Keep your whetstone damp at all times with a thin layer of water on its surface. To do this, periodically sprinkle some cold water onto its surface.
- When finished, place your whetstones onto a dry tea towel, and leave them in a safe place to air-dry for a few days. Doing this will prevent mold. Never use heat to dry a whetstone, or you risk cracking it.
- Over time your whetstones will get an uneven surface. So, once in a while, it's a good idea to flatten the surface of your whetstones. You can do this with leveling stones, which are reasonably cheap and readily available from online retailers. First, soak your whetstone and then rub the leveling stone onto its surface until it becomes flat again.
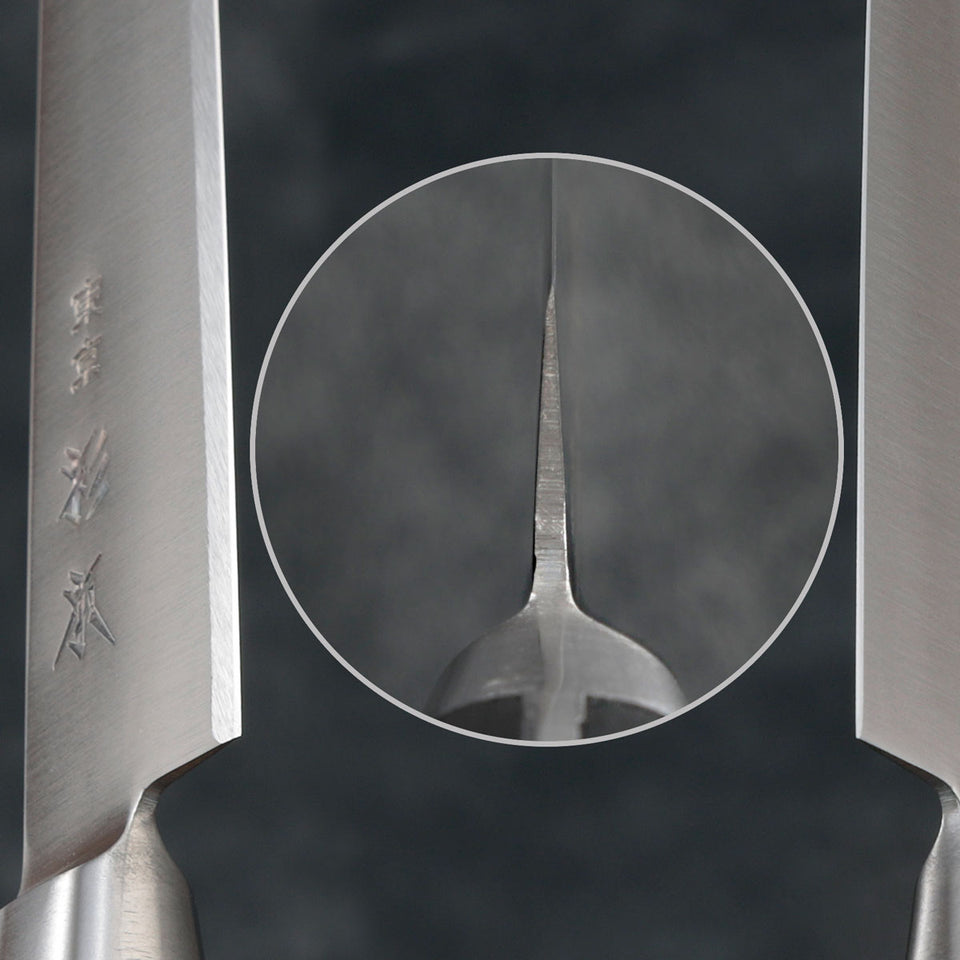
- Never use a coarse stone on the flat side if you're sharpening a single-bevel knife. That's because they are often made with two kinds of steel - hard steel on the flat side for the cutting edge and softer steel on the other side to support it. If you use a coarse stone on the flat side, you risk wearing away too much of the thinner hard steel.
Conclusion
With patience and perseverance, you'll master the whetstone. It's an invaluable skill that will save you money and grow your respect for your knife. So save yourself some big bucks, and keep your knives in tip-top shape. Just don't let your friends know because they'll soon start bringing their knives to your house!
How to Sharpen a Knife Using a Whetstone — Frequently Asked Questions
Related products


Get Free Bonus Books

Sign up for free to the Japanese Knife Club to get advice and exclusive articles about how to choose Japanese Knives, and tips and tricks for using Japanese knives.
About the author

Kei Nishida
Author, CEO Dream of Japan
Certifications: PMP, BS in Computer Science
Education: Western Washington University